Intro to Rails
slides: http://gdibtv.github.io/gdi-rails
Welcome!
Girl Develop It is here to provide affordable and accessible programs to learn software through mentorship and hands-on instruction.
Some "rules"
- We are here for you!
- Every question is important
- Help each other
- Have fun
Welcome!
Tell us about yourself.
- Who are you?
- What do you hope to get out of the class?
- Who is your favorite Dinosaur?
What is Rails?
- An open-source, full stack web application framework
- Written in the Ruby language
- First Released in 2004
- Created by David Heinemeier Hansson (DHH)
- Makes many kinds of apps much simpler to write
- Has a thriving community, tons of resources
What we will cover today
- Familiarize with Cloud9 IDE
- Build your first Rails app!
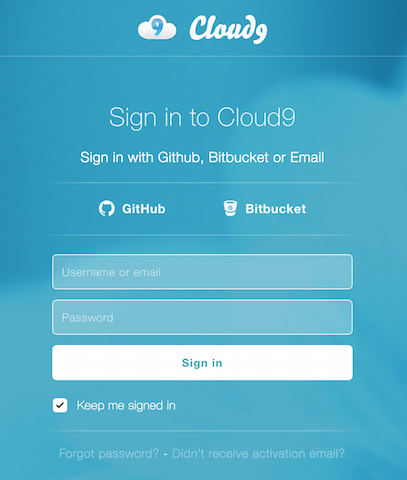
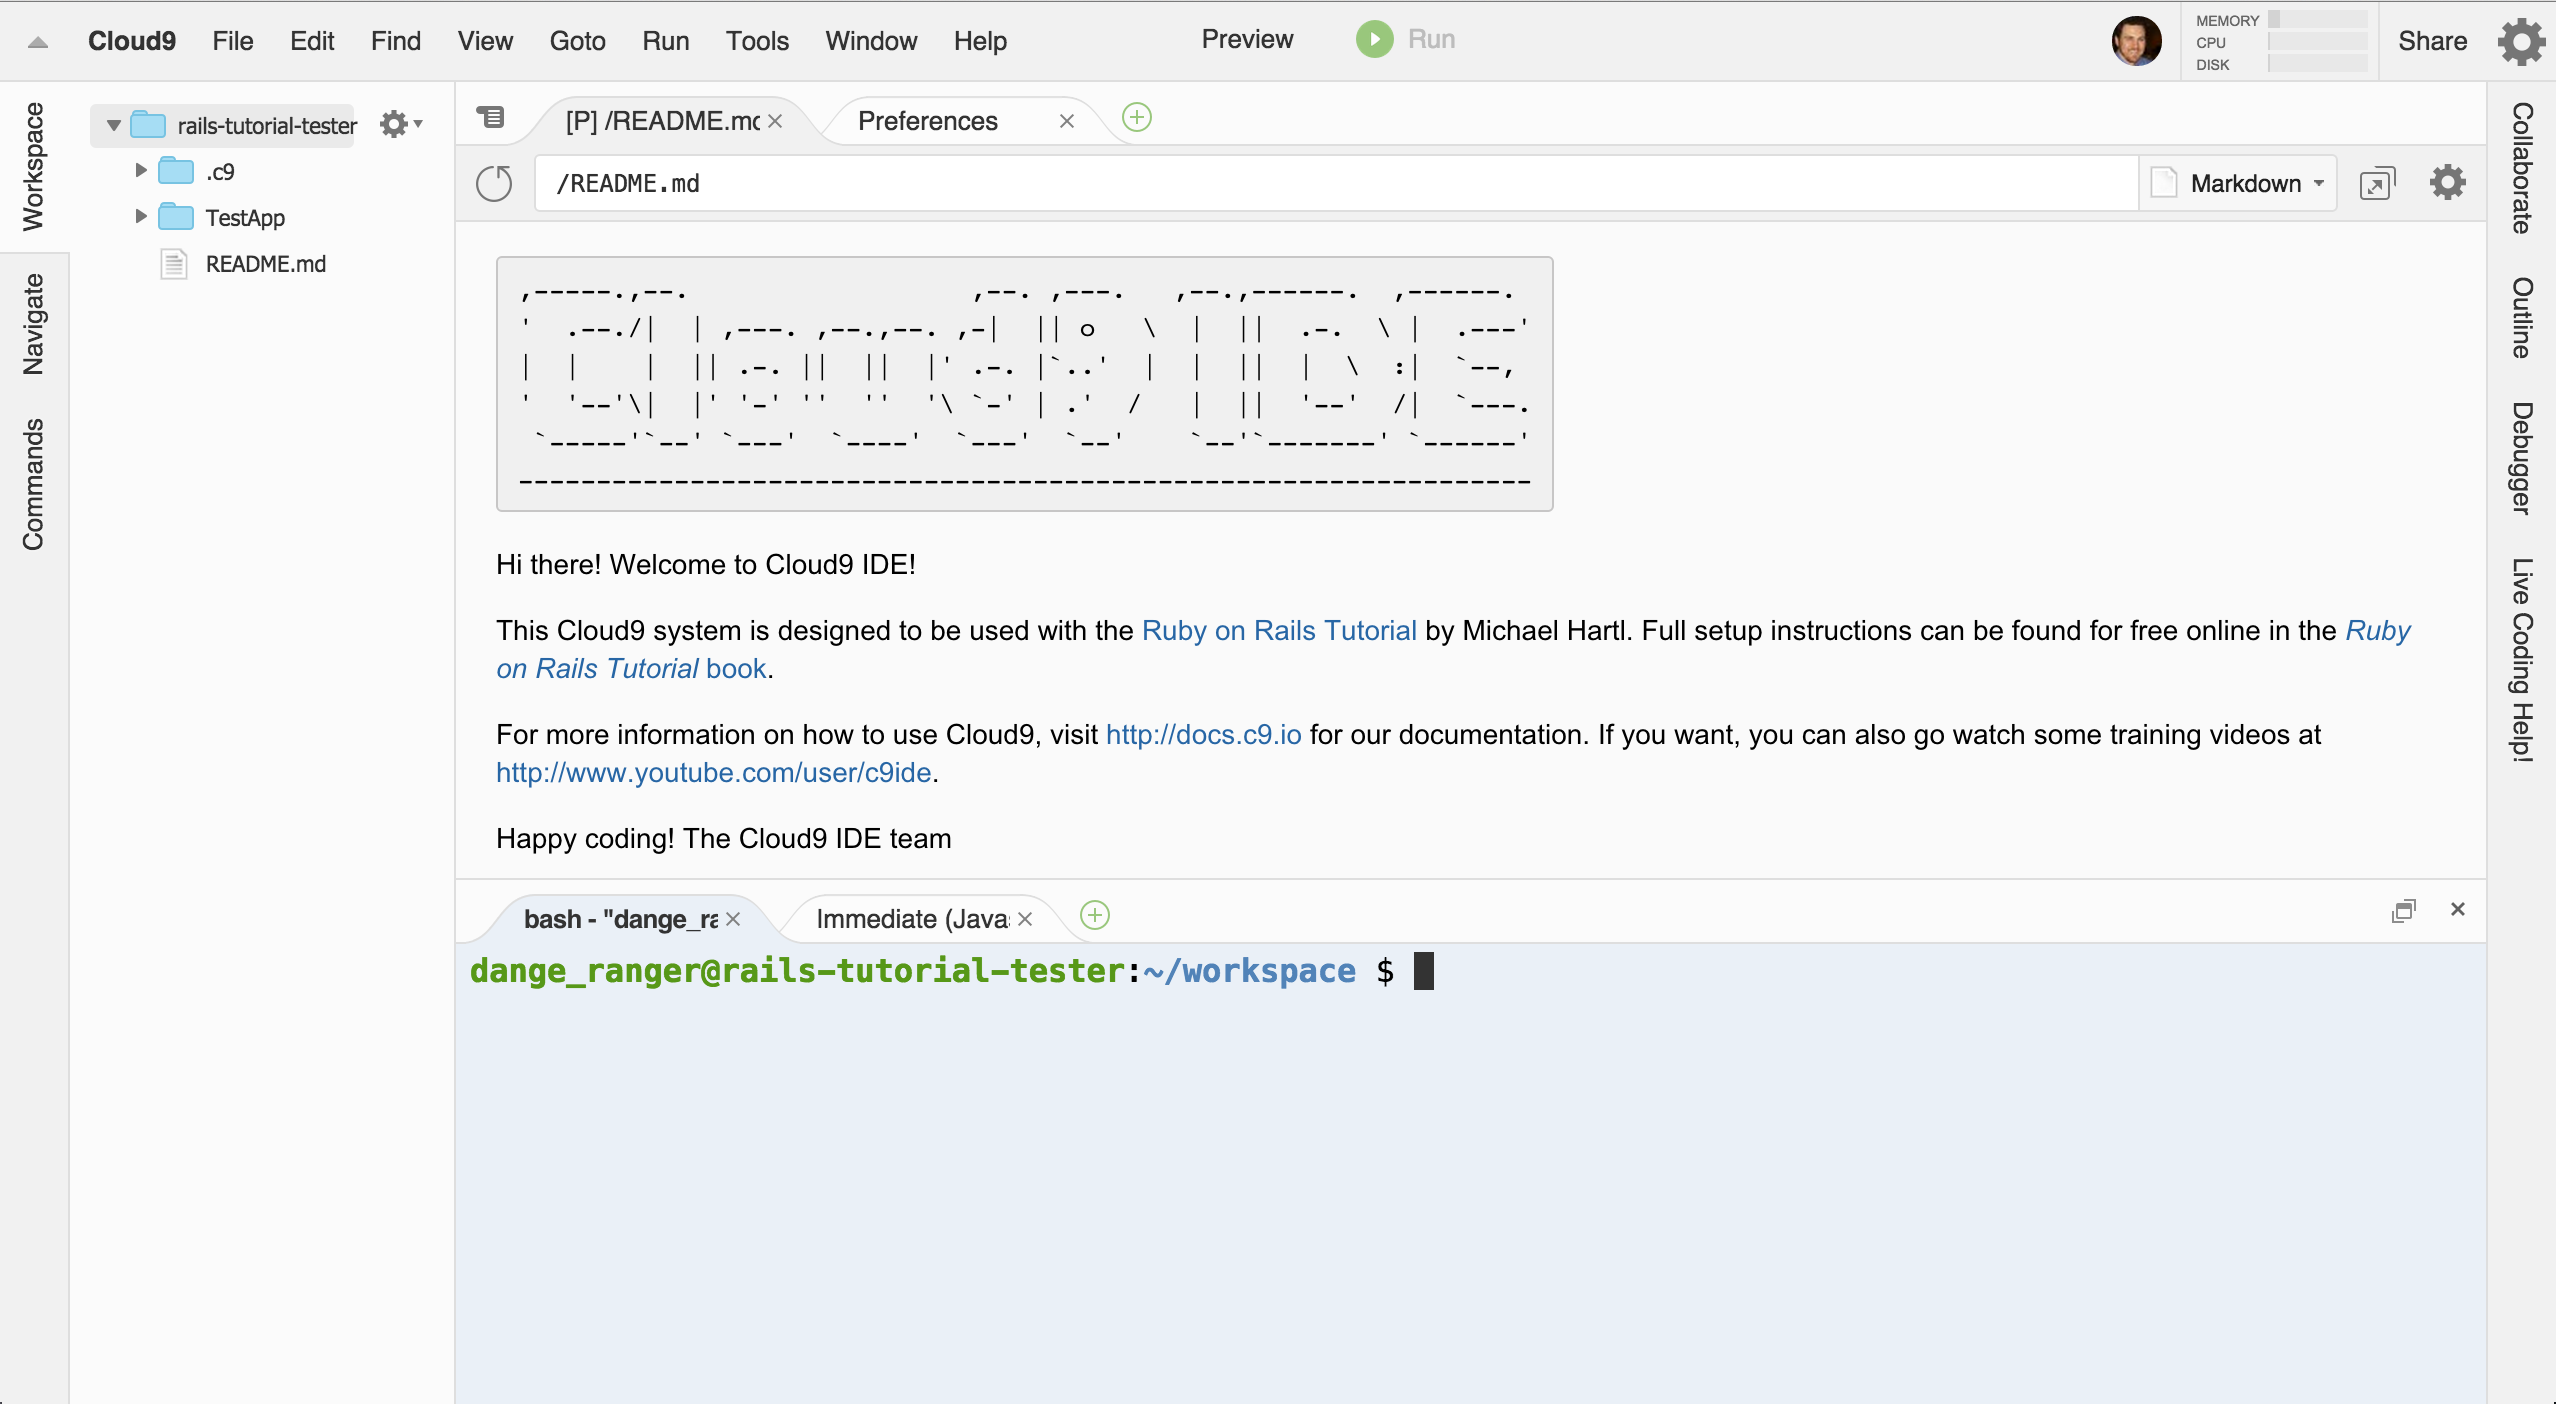
Log In to Cloud9 IDE
https://c9.io/web/login
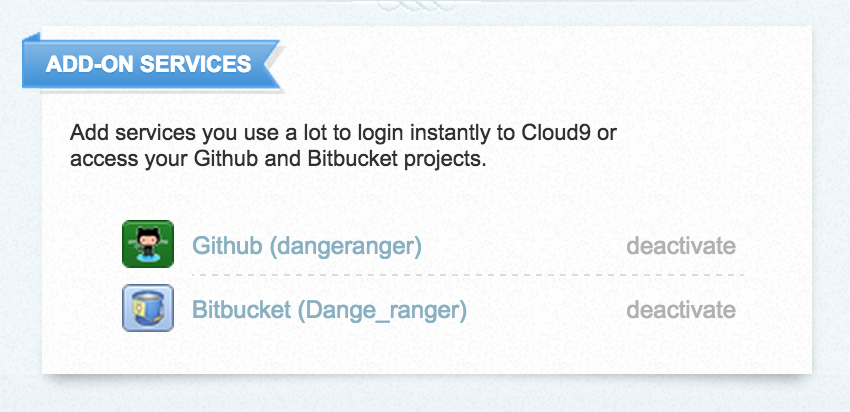
Connect Cloud9 to Github
If you have a Github account, connect
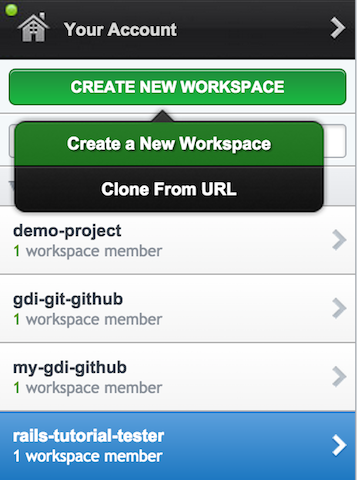
Create a New Workspace
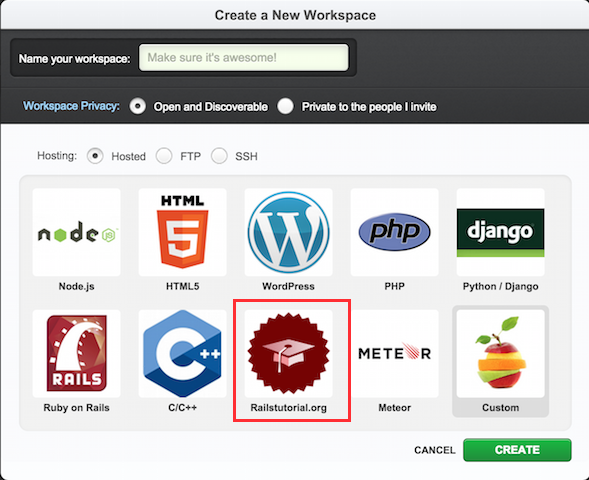
Choose a Project Template
Pick "RailsTutorial.org"
Hello Cloud9!
Check Your Ruby and Rails Install
Run these commands in the terminal.
  $ ruby -v
  > /usr/local/rvm/rubies/ruby-2.2.1/bin/ruby

  $ rails -v
  > Rails 4.2.1
Make a Rails app!
Navigate to a project directory in your terminal, then run:
$ rails new test_app
$ cd test_app
$ rails server --binding $IP --port $PORT
Visit in the browser to view your app!
              http://<workspacename>-<username>.c9.io
              https://rails-tutorial-tester-joshuaburke.c9.io/
Check it Out!
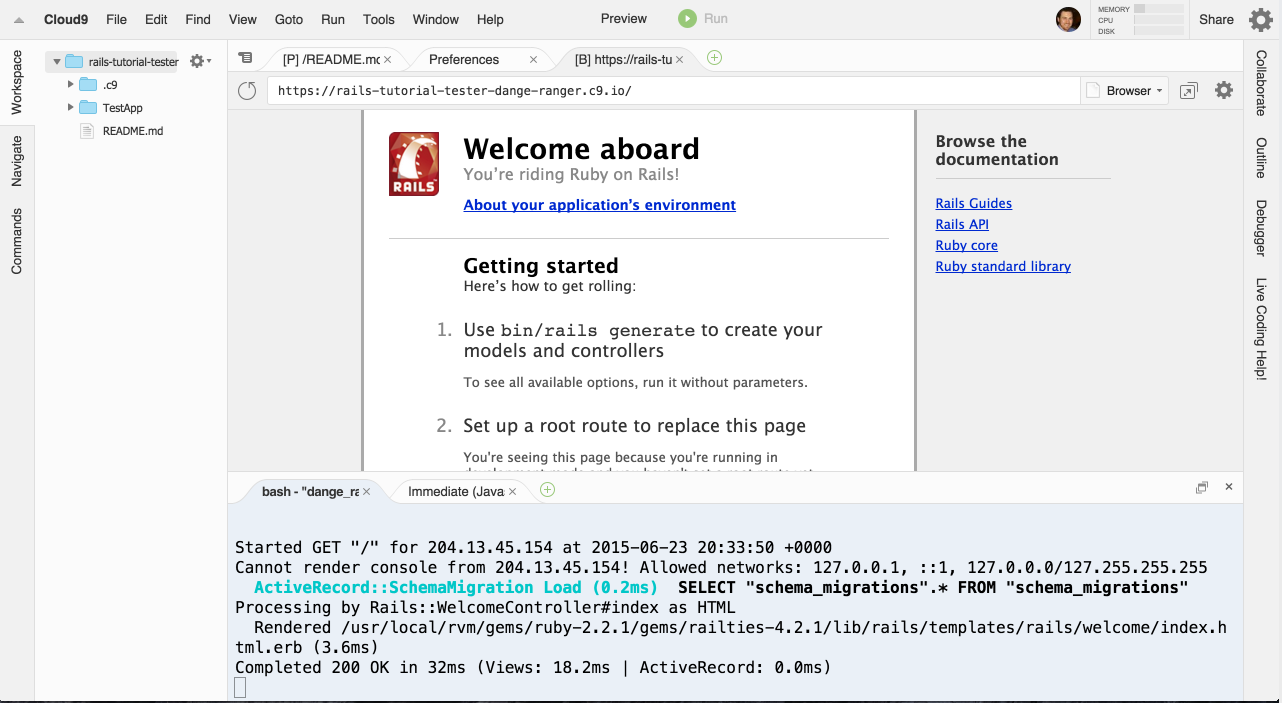
Make a Rails App
What just happened?
- We told Rails to build a new app called test_app
- Then navigated into it in the command line
- Started a server so we could view it live
- Sweet, awesome job!
Next Step:
Make App...

Step 1
Add a Student Model
In the terminal, generate the model
$ rails generate model student bio:string full_name:string
>     invoke  active_record
      create    db/migrate/20150623144213_create_students.rb
      create    app/models/student.rb
      invoke    test_unit
      create      test/models/student_test.rb
      create      test/fixtures/students.yml
Then Migrate the Database
$ rake db:migrate
> == 20150623144213 CreateStudents: migrating =============
  -- create_table(:students)
    -> 0.0015s
  == 20150623144213 CreateStudents: migrated (0.0016s) ====
Migration Explanation
Migrations are Ruby code that translate to SQL code. They’re how we setup, configure, and tune our database.
Some migrations are generated for you when you, for example, generate a new model. You will also create many of your own independently, to make changes to your database schema (adding or removing columns, changing names of columns, etc).
Find them in db/migrate/
Your app will not work as expected if you have pending migrations. They must be ‘run’ to ensure that your database is properly setup. Run them each as they’re created; run them all when resetting your database or installing the app on a new computer. rake db:migrate
Step 2
Add a Student Record to the Database
In the terminal, enter the rails console:
$ rails console
Then, create a Student object:
> Student.create(full_name: "Hermione Granger",
                 bio: "Dedicated student")
Note: close the console by entering the word 'quit'.
Rails Console
The Rails console is like IRB with your Rails app loaded in. Rad!
CRUD Operations:
#Create
> Student.create
> Student.create(full_name: "Bert", bio: "Bestie of Ernie")
#Read
> Student.all
> Student.first
> student = Student.find(1)
#Update
> student.update_attributes(full_name: "Bert Bernard")
> student.update(bio: "Scrabble champ of Sesame Street")
#Destroy
> student.destroy
Step 3
Create a Students Controller
In the terminal
$ rails generate controller Students
>     create  app/controllers/students_controller.rb
      invoke  erb
      create    app/views/students
      invoke  test_unit
      create    test/controllers/students_controller_test.rb
      invoke  helper
      create    app/helpers/students_helper.rb
      invoke    test_unit
      invoke  assets
      invoke    coffee
      create      app/assets/javascripts/students.coffee
      invoke    scss
      create      app/assets/stylesheets/students.scss
Generating this controller also creates an app/views/students directory.
Step 3
Create a Students Controller
In your text editor, open the generated app/controllers/students_controller.rb, and add an ‘index’ method to the class definition:
def index
  @students = Student.all
end
Model View Controller Architecture
- Models hold logic about objects & interact with db.
- Views are presentation.
- Controllers coordinate the two.
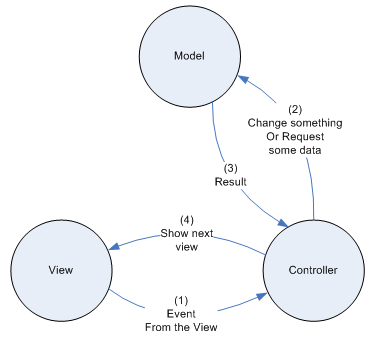
MVC Goal
By isolating logic and presentation, you remove dependencies.
Views don’t need to know how their data is generated, and Models don’t need to know how their data is used. Changes to one won’t affect the other.
MVC Explanation
An app this basic doesn’t really have any logic to put in the model. The controller can handle basic database actions like finding Student.all.
Every view that your app has must have an associated controller method. This method will usually pass data to the view, but not necessarily.
Step 4
Create views for student controller
In the app/views/students directory, create a file called index.html.erb. Insert into it:
<h1>Student List</h1>
<% @students.each do |student| %>
  <%= student.full_name %>
  <%= student.bio %>
<% end %>
ERB Explanation
ERB is Embedded RuBy. It’s a templating system that allows you to embed Ruby code into a text document, like HTML. It’s included in the standard Ruby library.
Syntax:
Ruby is processed, but does not display anything:
<% code %>
Ruby is processed, and outputs result to the page:
<%= code %>
Step 5
Add routes for Student views
In your text editor, open config/routes.rb, and create resource routes for our student controller:
resources :students
Step 6
Change the root route
In config/routes.rb, set the root route to our students#index controller:
root 'students#index'
Routing Explanation
Routing for your app is controlled in the config/routes.rb file. The comments in this file are extremely helpful.
If a view doesn’t have a route, there’s no way for the browser to request and receive it.
Resource routes are a shortcut. They provide routes for all CRUD actions associated with a model, so you don’t have to spell them each out.
What did we just do?
- Made a new Rails application
- Added a Student model, with bio & full_name attributes
- Added a student record to the database, using Rails Console
- Created a Students controller
- Created a view for the Student controller's index action
- Added routes for Student views
- Changed the root to point to a Student view
Wow.
Homework
Practice:
Blogger tutorial from Jumpstart Labs, Section I0 only!